Are you tired of breakfast biscuits that go stale after a few days? Imagine a pantry staple, a crunchy, satisfying biscuit that retains its delightful crispness for months. This recipe delivers just that: crispy wheat flour biscuits boasting an incredibly long shelf life. Forget soggy disappointments; these biscuits maintain their texture and flavor, making them perfect for a quick breakfast, a satisfying snack, or even as a base for creative culinary adventures. They're surprisingly easy to make, requiring minimal ingredients and straightforward techniques.
This recipe utilizes a special method to achieve maximum crispness and longevity, resulting in biscuits that are both delicious and incredibly convenient. Forget daily trips to the bakery; prepare a large batch, store them properly, and enjoy fresh-tasting biscuits whenever the craving strikes. Ready to learn how to make these amazing crispy wheat flour biscuits? Let's dive into the step-by-step process.
Tools Needed
- Measuring cups
- Mixing bowl
- Rolling pin
- Cookie cutters or lid
- Frying pan
Ingredients
- Wheat flour: 2 cups
- Semolina: 1/4 cup
- Desiccated coconut: 1/4 cup
- Salt
- Refined oil: 1/4 cup
- Sugar: 1/2 cup
Step-by-Step Instructions
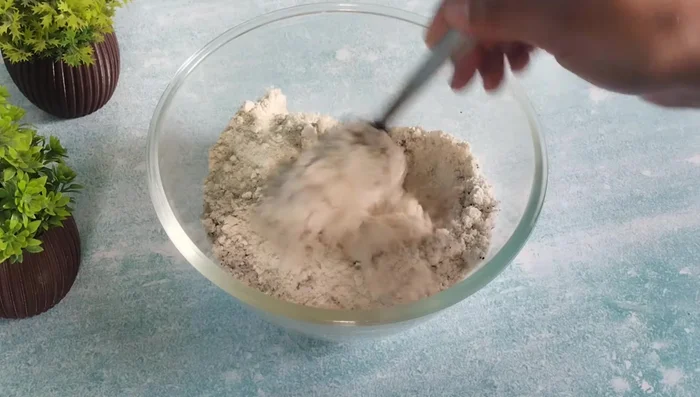
Step 1. Dry and Wet Ingredient Combination
- Mix wheat flour, semolina, desiccated coconut, and salt thoroughly.
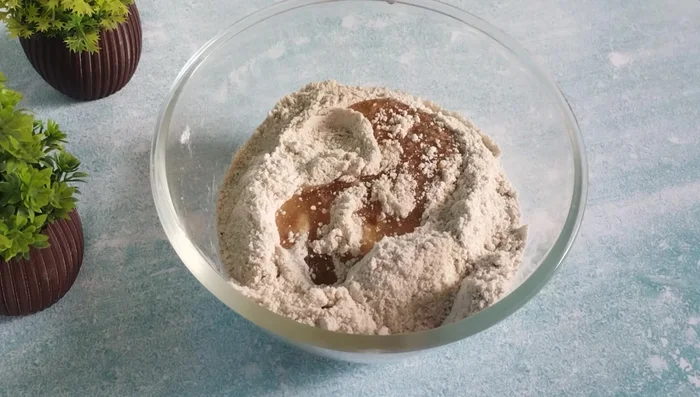
- Add refined oil and mix well to create a crumbly texture. If needed, add more oil until the mixture binds.
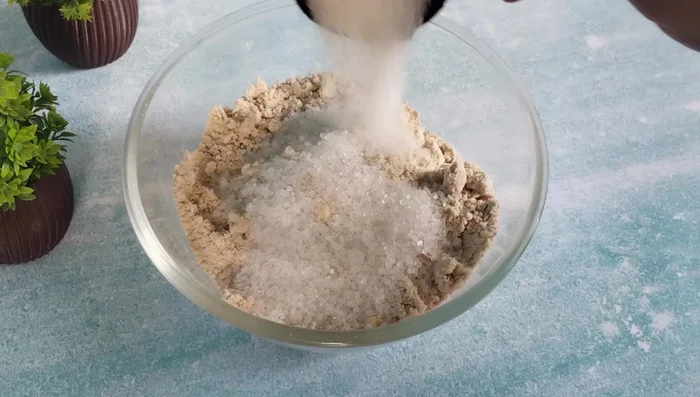
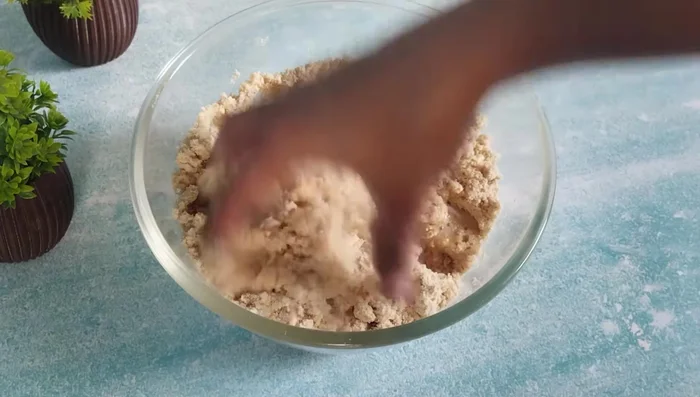
- Add sugar and mix thoroughly. Do not grind the sugar.
- Gradually add water to form a firm, not wet, dough.
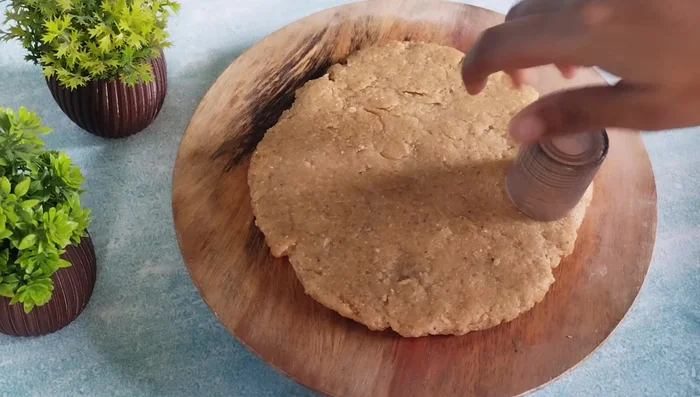
Step 2. Shaping and Cutting the Biscuits
- Divide the dough into two parts and roll each part into a flat, moderately thick circle.
- Use a cookie cutter or lid to cut out round biscuits. You can also use a knife and make any shape you like.
- Gently press the biscuits to make them uniform in size and thickness. You can add a design if desired.


Step 3. Frying the Biscuits
- Heat oil in a frying pan on low heat. Fry the biscuits in batches without overcrowding the pan, ensuring the oil is slightly hot (with light bubbles).
- Fry the biscuits on low heat until golden brown, flipping gently when one side is cooked. Avoid touching them too much.


Step 4. Cooling and Storage
- Remove the fried biscuits and place them on a wire rack to cool. Allow the oil to cool slightly before adding the next batch.
Read more: Easy Indian Bread Pudding Recipe: A Simple Dessert
Tips
- Using a combination of wheat and refined flour or only refined flour is acceptable.
- Omitting semolina is fine; the biscuits will still be tasty.
- A pinch of salt enhances the sweetness of the biscuits.
- Ghee or butter can be used instead of oil.
- Adjust oil quantity as needed to achieve a well-bound dough.
- Jaggery can be used as a substitute for sugar.
- Ensure the dough is firm and not too wet to make crispy biscuits.
- Don't overheat the oil; otherwise, the biscuits will burn on the outside and remain uncooked inside.
Nutrition
- N/A
FAQs
1. How long do these biscuits actually stay crispy?
With proper storage in an airtight container in a cool, dry place, these biscuits can remain crispy for up to 3 months.
2. Can I use a different type of flour?
While wheat flour is best for this recipe's texture and shelf life, you can experiment with a blend of wheat and whole wheat flour. Avoid using all-purpose flour, as it will affect the crispiness and storage time.
3. What's the best way to store them?
Store your cooled biscuits in an airtight container, preferably one made of glass or metal, in a cool, dry place away from moisture and strong smells.
Enjoy the convenience and delicious crunch of these long-lasting biscuits. With minimal effort, you've mastered a recipe that provides a satisfying breakfast option for weeks to come. Now go forth and enjoy your crispy, homemade wheat flour biscuits!