Paneer, a fresh, unsalted Indian cheese, is a culinary cornerstone, lending its versatility to countless dishes. From creamy curries to flavorful stir-fries, its mild taste and firm texture make it a beloved ingredient across South Asia and beyond. Unlike most cheeses, paneer isn't aged, resulting in a unique, subtly sweet flavor profile that complements both spicy and mild preparations. Its ability to hold its shape during cooking makes it ideal for grilling, frying, and baking, offering endless possibilities for creative culinary adventures. This adaptable cheese is also a great source of protein, adding nutritional value to any meal.
Making paneer at home might seem daunting, but it's surprisingly simple and rewarding. The fresh, homemade taste far surpasses store-bought varieties, allowing for complete control over ingredients and quality. Ready to experience the joy of crafting your own delicious paneer? Let's dive into the step-by-step process outlined below, guiding you through creating this culinary treasure from the comfort of your own kitchen.
Tools Needed
- Pot
- Vessel
- Cloth
- Paneer mold (or tin box/dupatta)
- Weight
Ingredients
- Milk: 1 liter
- Curd (Yogurt): 1 cup
Step-by-Step Instructions
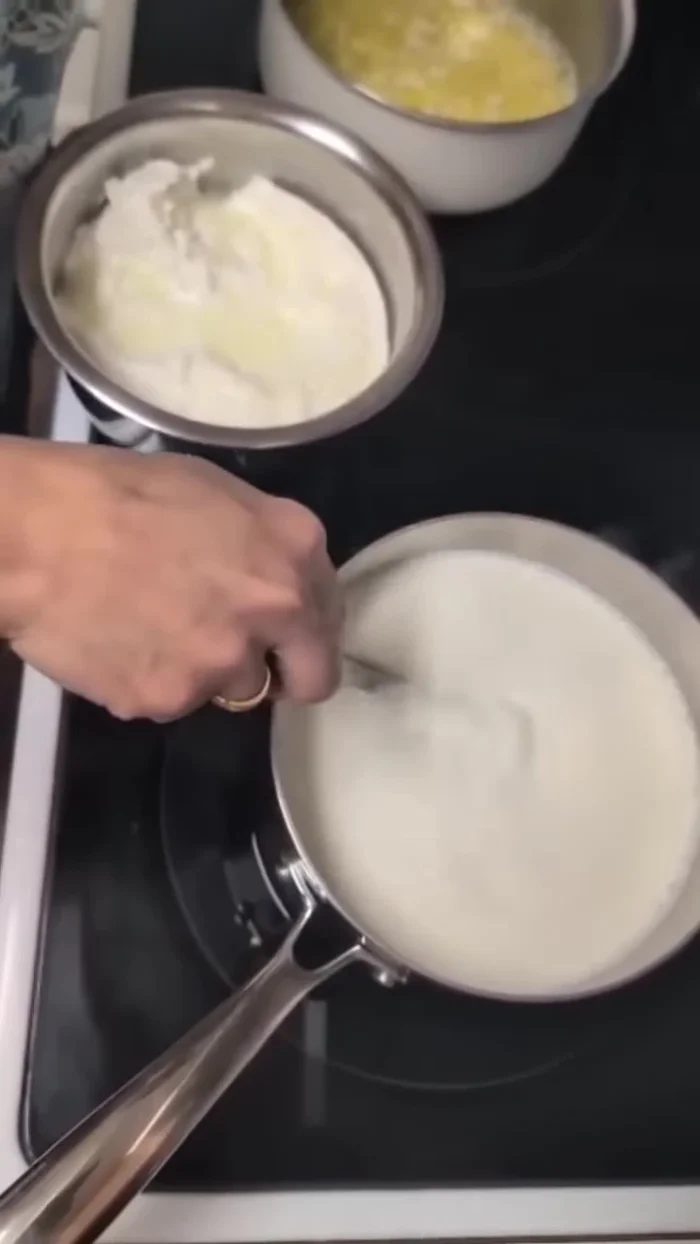
Step 1. Prepare the Milk and Curd Mixture
- Boil 1 liter of whole milk until it thickens.
- Add 1 cup of curd to the boiling milk.
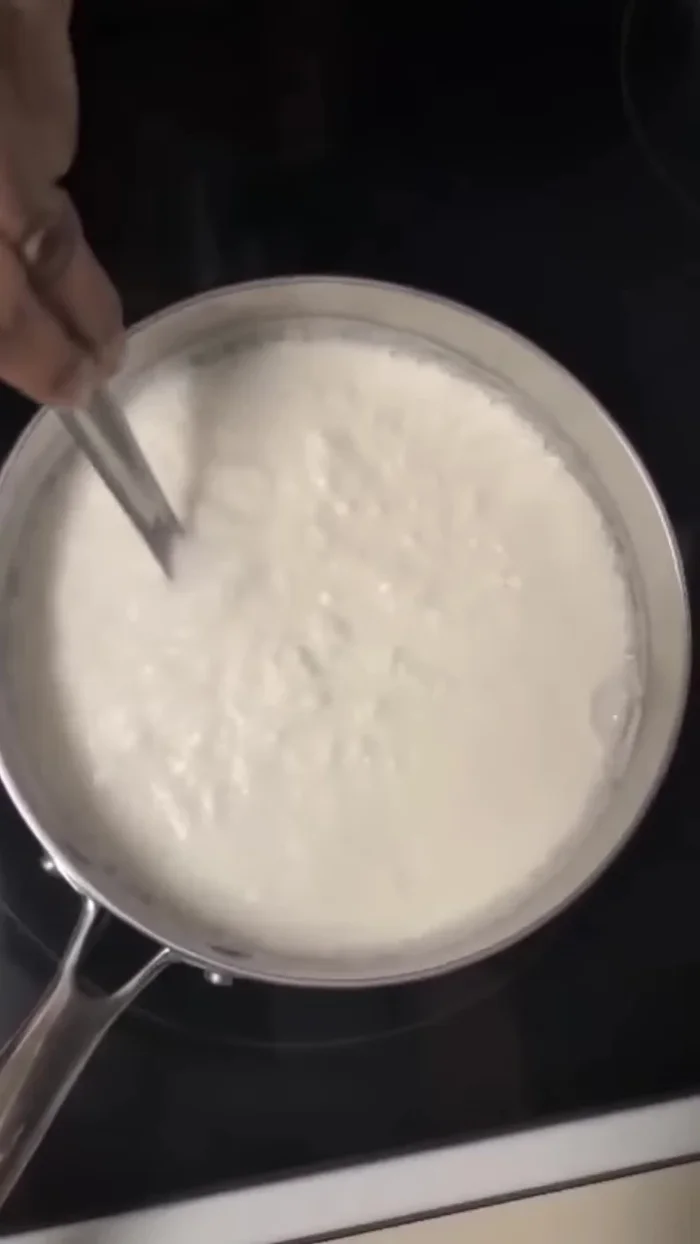
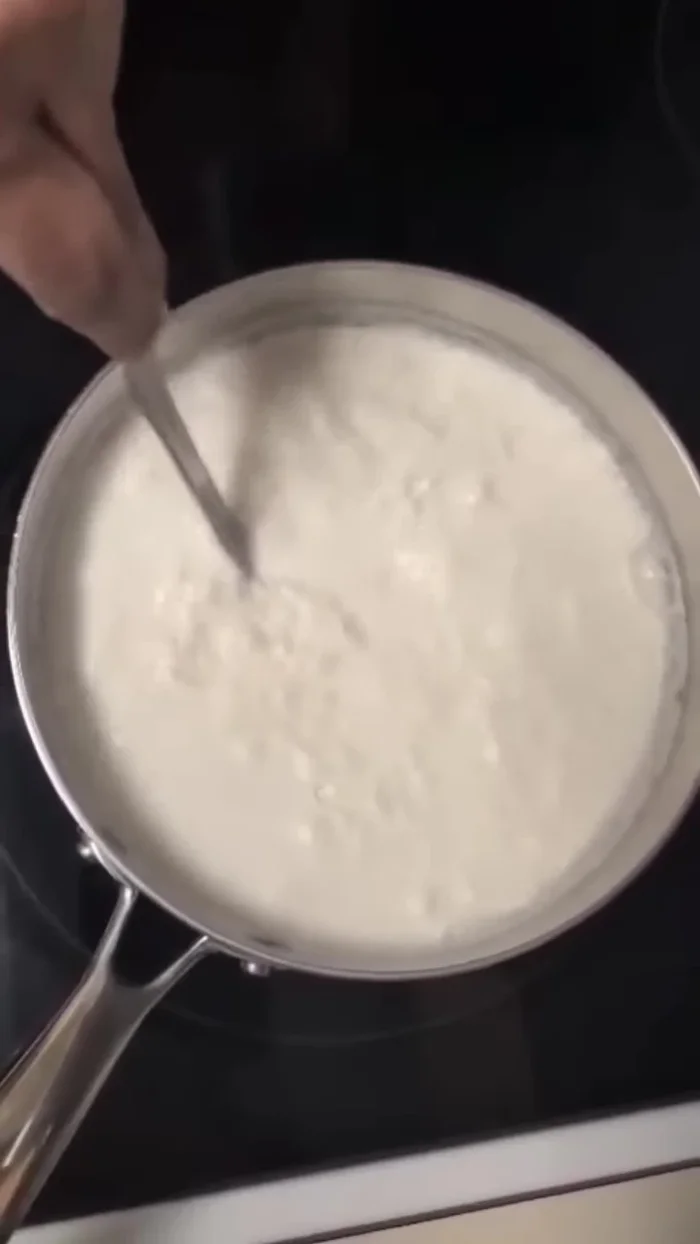
Step 2. Cook and Separate the Paneer
- Cook for 5-10 minutes, until the milk separates and the paneer forms.
Step 3. Strain and Remove Excess Water
- Transfer the separated paneer and whey to a vessel.
- Strain the paneer through a cloth to remove excess water.


Step 4. Press and Shape the Paneer
- Place the strained paneer in a paneer mold (or a tin box/dupatta), add a weight on top, and press to remove more water.

Read more: Spicy Tava Pulao Recipe: Easy Indian Rice Dish
Tips
- Use whole milk for best results; reduced-fat milk may not thicken enough.
- For soft paneer, process it while it's still warm; don't wait until it cools down completely.
- Store the paneer in the refrigerator for up to 3-4 days.
- You should get approximately 150 grams of paneer.
Nutrition
- N/A
FAQs
1. Can I use full-fat milk or low-fat milk to make paneer?
Full-fat milk is recommended for the creamiest paneer. Low-fat milk will result in a firmer, less creamy paneer, but it's still usable.
2. What if my paneer doesn't solidify properly?
Ensure you're using enough lemon juice or vinegar and that the milk is at the right temperature (simmering, not boiling). Let it sit undisturbed for at least 15 minutes to fully coagulate.
Making your own paneer is a rewarding experience, offering unparalleled freshness and flavor compared to store-bought options. Now you can enjoy the creamy texture and subtle sweetness in your favorite dishes, knowing exactly what went into making it. So, get cooking and savor the delicious results of your homemade paneer!