Shakkarparas, those delightful diamond-shaped crispy treats, are an indispensable part of many Indian festivals, especially Holi. Their delicate crunch and subtly sweet flavor make them irresistible, a perfect accompaniment to chai or a delightful snack on their own. This beloved confection, traditionally made with simple ingredients, offers a satisfying blend of textures and tastes that transcends generations. The process might seem daunting to some, but with clear instructions and a little patience, you'll be amazed at how easily you can create these melt-in-your-mouth delights at home.
This recipe focuses on achieving that perfect balance of crispiness and sweetness, ensuring your shakkarparas are not only delicious but also visually appealing. We'll guide you through each step, from preparing the dough to achieving the ideal golden-brown hue, ensuring your shakkarparas are worthy of a festive celebration. Ready to embark on this culinary journey and create your own batch of crispy, melt-in-your-mouth shakkarparas? Let's get started!
Tools Needed
- Utensil
- Mixer jar
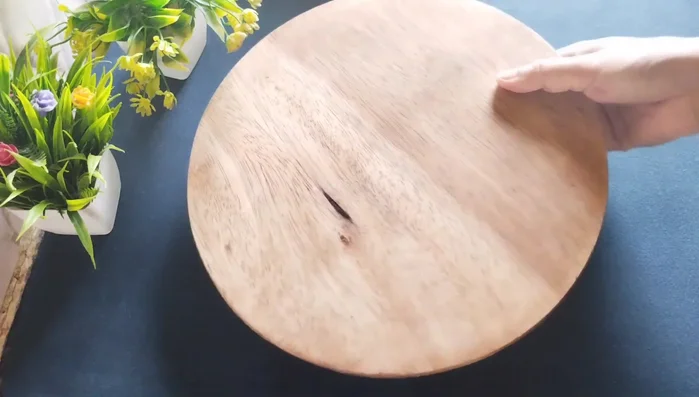
- Chakla (rolling board)
- Knife
Ingredients
- Refined flour (all-purpose flour): 2 cups
- Powdered sugar: 1/2 cup
- Nigella seeds (kalonji): 1 teaspoon
- Salt: a pinch
- Refined oil or ghee: 1/4 cup
- Milk or water: 1/2 cup (approx.)
Step-by-Step Instructions
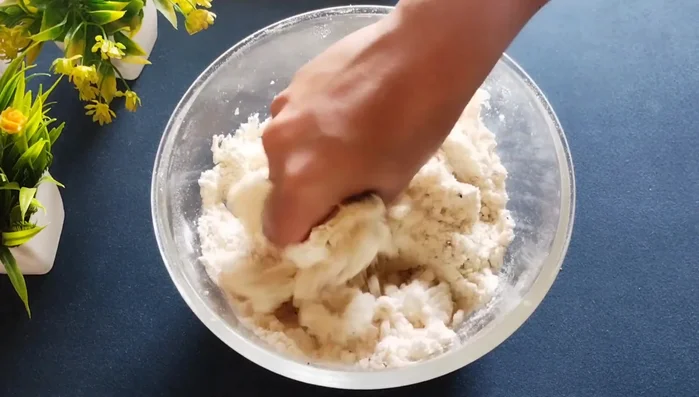
Step 1. Preparing the Dough
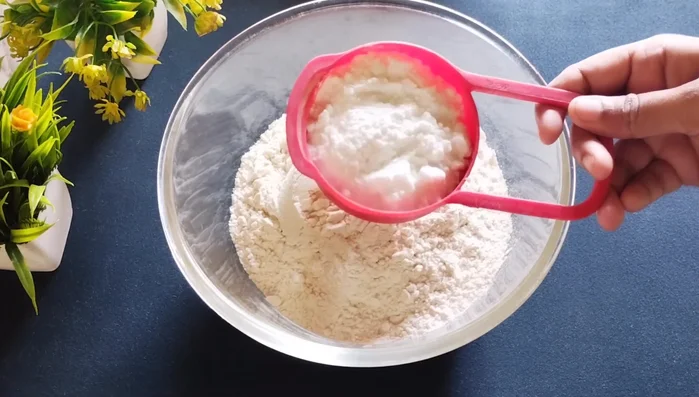
- Take a utensil and add two cups of refined flour.
- Add half a cup of powdered sugar (homemade sugar ground in a mixer jar).
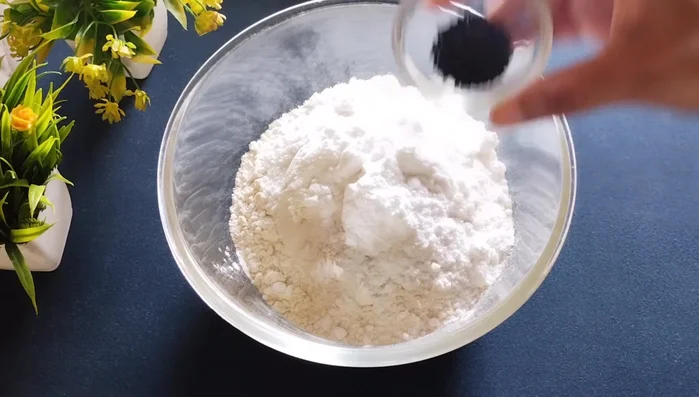
- Add one teaspoon of nigella seeds and a pinch of salt.
- Mix all dry ingredients thoroughly.

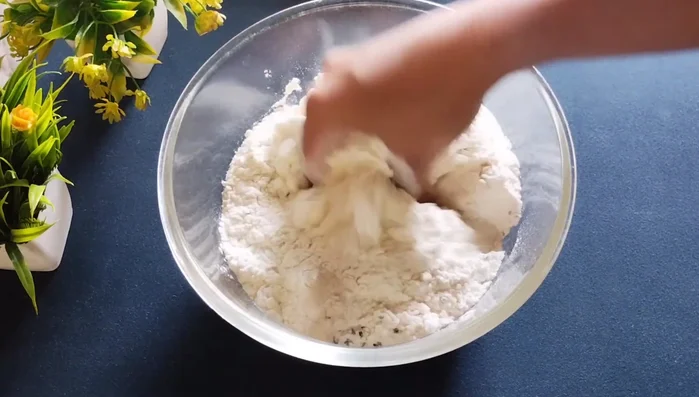
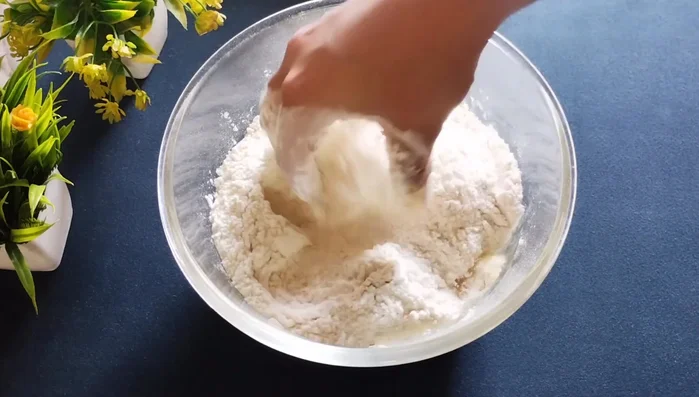
- Add 1/4 cup of refined oil (or ghee) and rub it well into the flour until it resembles laddu crumbs.
- Gradually add milk (or water) to form a stiff dough. Add it slowly as the sugar may make it wet quickly.
- Cover the dough and let it rest for 15-20 minutes.
- Knead the dough again to make it smooth.
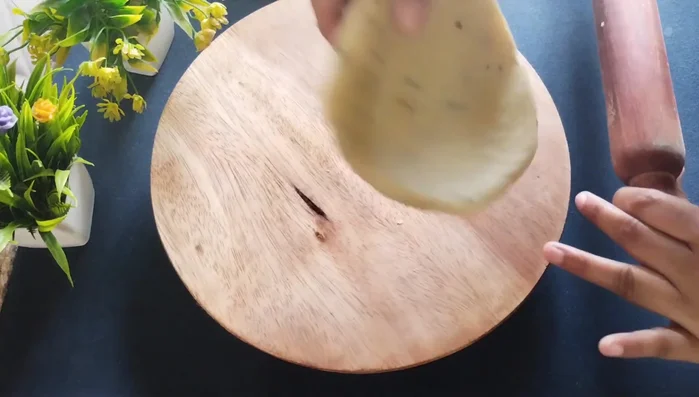
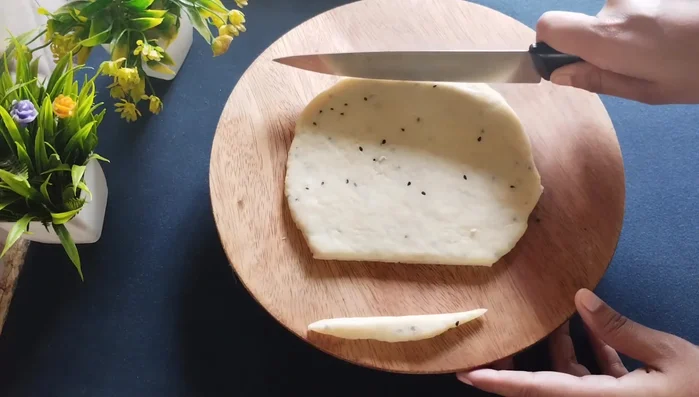
Step 2. Shaping and Cutting
- Roll out the dough to a thick sheet (not thin).
- Cut the dough into square or desired shapes.
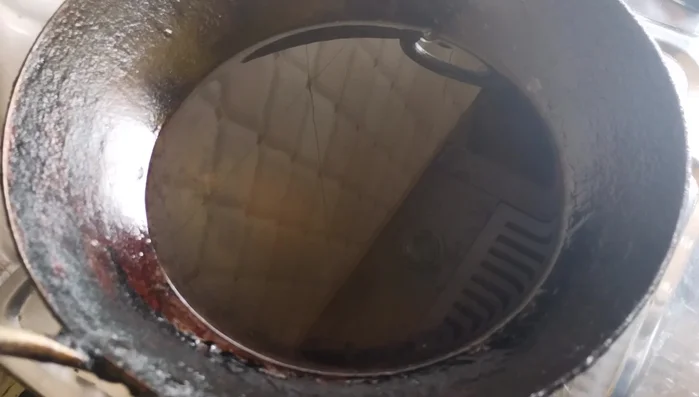
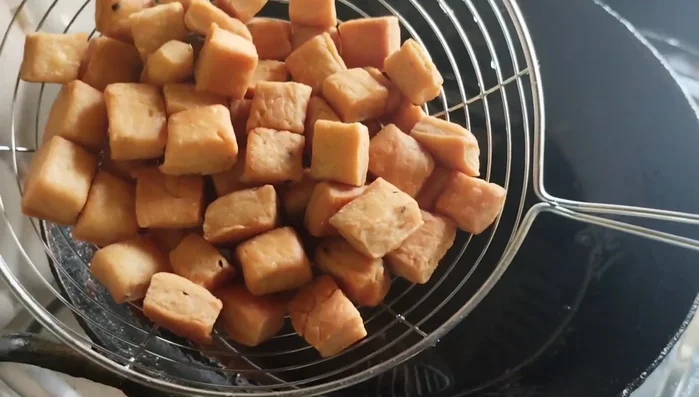
Step 3. Frying the Shakkarpara
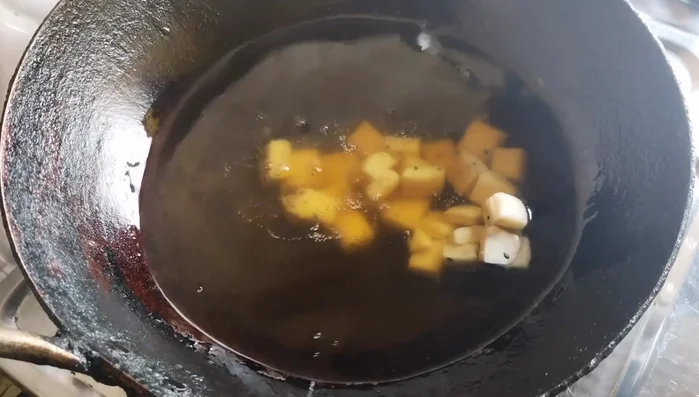
- Heat oil in a pan on low heat.
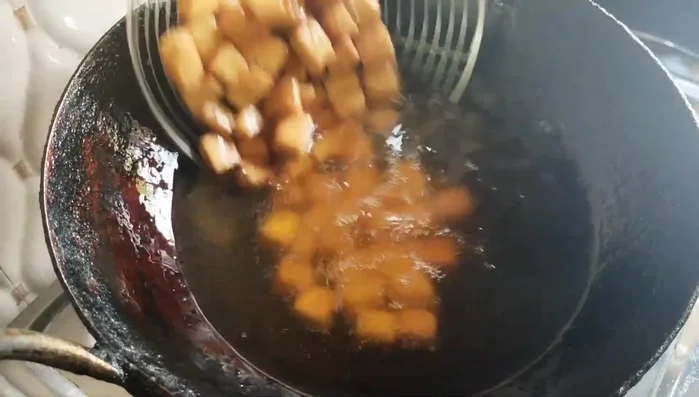
- Fry the shakkarpara in batches on low heat until golden brown, turning occasionally to ensure even cooking. Avoid overcrowding the pan.
Step 4. Cooling and Storage
- Remove the fried shakkarpara and place them on a plate to cool.
- Once completely cooled, store in an airtight container for up to a month.
Read more: Crispy Chilli Chana Recipe: Restaurant-Style Crunchy Chickpeas
Tips
- Don't add too much or too little sugar. Too much sugar will cause it to scatter in oil.
- Fry on low heat to prevent the shakkarpara from burning on the outside and remaining raw inside.
- The oil should be lightly hot when you add the shakkarpara.
Nutrition
- N/A
FAQs
1. Can I use a different type of flour for shakkarparas?
While all-purpose flour works best, you can experiment with a blend of all-purpose and whole wheat flour for a slightly nuttier flavor. However, using too much whole wheat might make them less crispy.
2. My shakkarparas are soft, not crispy. What went wrong?
This usually happens if the dough was too wet, the oil wasn't hot enough, or they weren't cooked long enough. Ensure your dough is firm, the oil is shimmering hot, and cook them until golden brown and crispy.
So there you have it – your very own batch of crispy, melt-in-your-mouth shakkarparas, perfect for celebrating Holi or any special occasion. Enjoy the delightful crunch and sweet taste, and don't be afraid to experiment with different shapes and sizes to make them your own. Happy cooking!