Craving a delightful and addictive snack that's both healthy and incredibly flavorful? Look no further than Moong Dal Namkeen, a crispy, crunchy delight that's a staple in Indian households and a popular street food treat. This homemade recipe delivers the same irresistible taste and satisfying texture as your favorite market-bought version, but with the added bonus of knowing exactly what ingredients went into creating this culinary masterpiece. Forget those overly processed, artificial-flavored snacks; this recipe uses simple, wholesome ingredients to achieve a truly exceptional result.
Imagine the satisfying crunch of perfectly roasted moong dal, seasoned with a vibrant blend of spices and herbs. This recipe unlocks the secret to achieving that signature crispy texture and intense flavor profile, transforming humble moong dal into an unforgettable snack. Ready to embark on this culinary adventure and create your own batch of crispy, crunchy Moong Dal Namkeen? Let's dive into the easy step-by-step process!
Tools Needed
- Sieve
- Plate
- Cloth
- Pan
Ingredients
- Moong Dal (yellow split mung beans): 1 cup
- Water
- Salt: 1/2 teaspoon
- Oil
- Spices (optional)
Step-by-Step Instructions
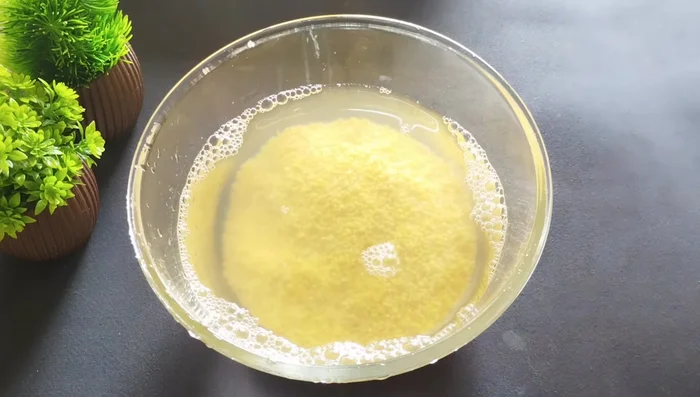
Step 1. Prepare the Moong Dal
- Wash the moong dal 2-3 times to remove pebbles, mud, and excess starch.
- Soak the washed moong dal in water for at least 4-5 hours, or overnight.
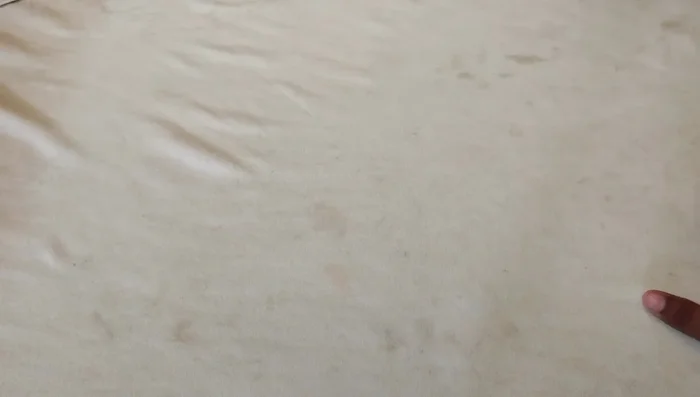
- Drain the soaking water and spread the moong dal on a cloth under a fan to dry for 5-10 minutes. Do not dry completely; it should still be slightly moist.

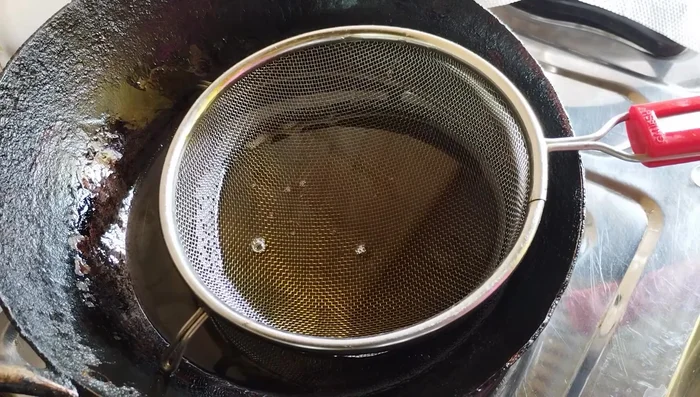
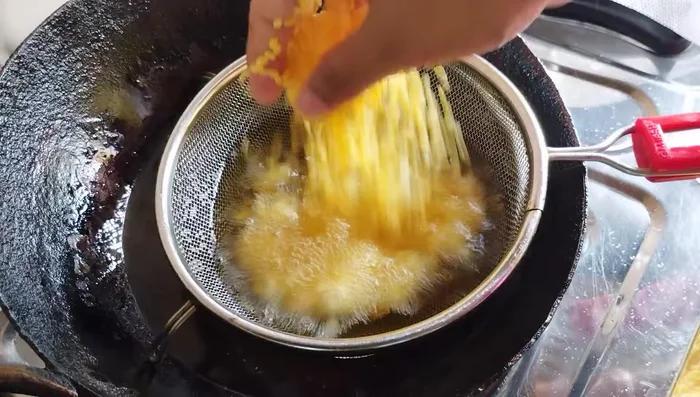
Step 2. Fry the Moong Dal
- Heat oil in a pan. Using a sieve, fry the moong dal in batches over high heat until the foam subsides and the dal becomes crispy and golden brown. Avoid low heat frying to prevent oiliness.
Step 3. Drain and Cool
- Remove the fried moong dal and place it on a tissue-lined plate to drain excess oil.
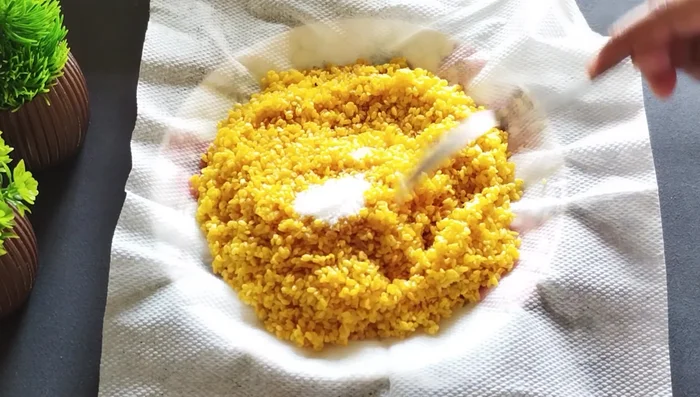
Step 4. Season and Serve
- While the moong dal is still hot, add salt and any desired spices (e.g., chaat masala, red chili powder). Mix well.
Read more: Crispy Chilli Chana Recipe: Restaurant-Style Crunchy Chickpeas
Tips
- Using yellow split mung beans (small grains) is recommended for optimal results.
- Do not overdry the moong dal before frying; this will result in a hard namkeen.
- Fry the moong dal on high heat to achieve crispiness and avoid oiliness. Add the dal to the hot oil in small batches.
- Add salt while the moong dal is still hot to ensure proper mixing and flavor absorption.
Nutrition
- N/A
FAQs
1. Can I use pre-cooked moong dal?
No, it's crucial to use raw, uncooked moong dal for the best crispy texture. Pre-cooked dal will likely become mushy.
2. How can I ensure the namkeen stays crispy?
Store the cooled namkeen in an airtight container at room temperature. Avoid storing it in the refrigerator, as this can make it soft.
3. Can I adjust the spice levels?
Absolutely! Feel free to add more or less chili powder, depending on your spice preference. You can also experiment with other spices like garam masala or cumin.
So there you have it – your very own batch of irresistibly crispy and crunchy Moong Dal Namkeen! This recipe allows you to enjoy a delicious and healthy snack without any artificial ingredients. Now go ahead, impress your friends and family with this homemade treat!