Milk peda, a beloved Indian sweet, is a delightful treat perfect for festivals or any special occasion. Its creamy texture and subtly sweet flavor make it a crowd-pleaser, transcending generations. This traditional dessert, often found at celebratory gatherings, is surprisingly simple to make at home, requiring only a few basic ingredients and a little patience. The rich, melt-in-your-mouth consistency is the reward for a little effort, resulting in a homemade sweet far superior to store-bought versions. Imagine the aroma of simmering milk filling your kitchen, transforming into these delectable little peda.
Forget complicated recipes and long ingredient lists! This easy milk peda recipe will guide you through each step, ensuring a successful outcome even for novice cooks. We'll break down the process into simple, manageable stages, making this classic Indian sweet accessible to everyone. Ready to embark on this delicious culinary journey? Let's dive into the step-by-step instructions below.
Tools Needed
- Pan
Ingredients
- Milk: 1/2 cup
- Sugar: 1/2 cup
- Ghee: 2-3 tablespoons
- Milk Powder: 2 cups
- Cardamom Powder: optional
- Kewda Water: optional (2-3 drops)
- Pistachios: optional
- Almonds: optional
Step-by-Step Instructions
Step 1. Prepare the Milk Mixture
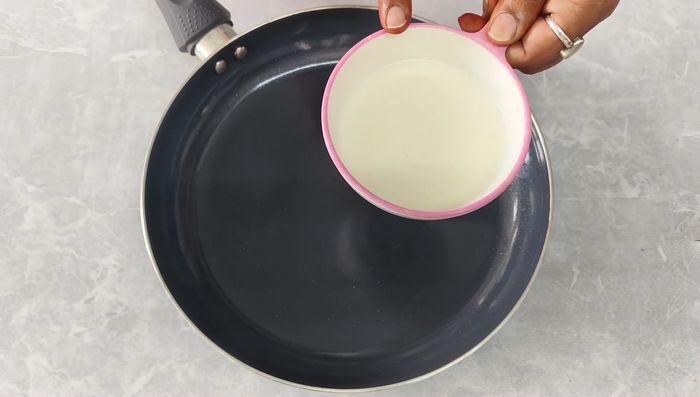
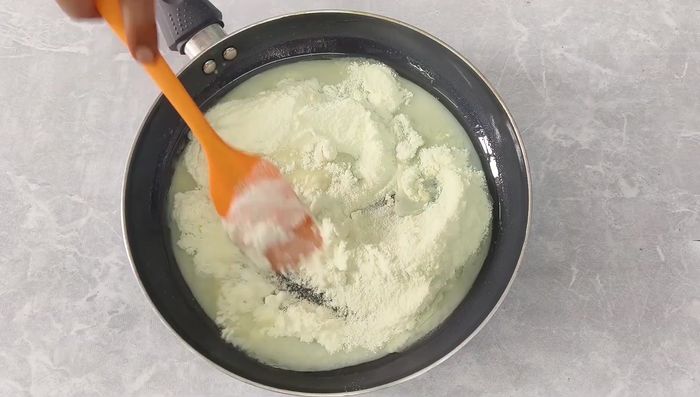
- In a pan, combine milk (room temperature), sugar, and 2 tablespoons of ghee. Mix well until the sugar starts to dissolve.
- Gradually add the milk powder, one cup at a time, mixing continuously to prevent lumps.
- Add cardamom powder (optional) and kewda water (optional).
- Cook the mixture over medium-low heat, stirring constantly to prevent sticking. If it sticks, reduce the heat or turn off for a couple of minutes.

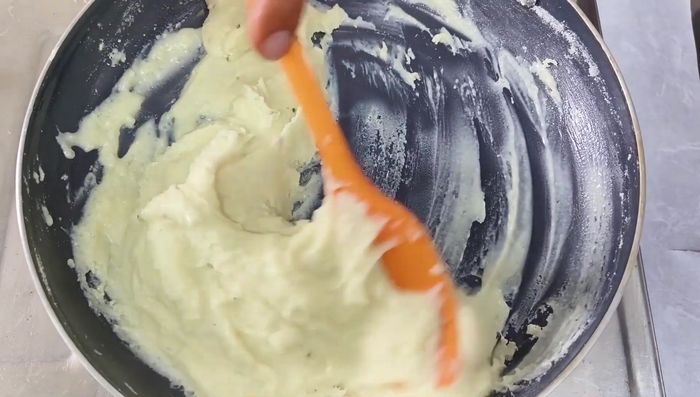
- Add another tablespoon of ghee if needed. Continue to stir until the mixture becomes thick and pulls away from the sides of the pan.
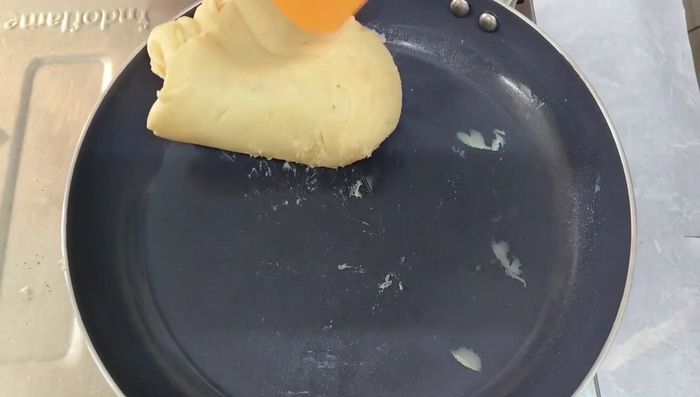
Step 2. Cook and Thicken the Mixture
- Cook the mixture over medium-low heat, stirring constantly to prevent sticking. If it sticks, reduce the heat or turn off for a couple of minutes.
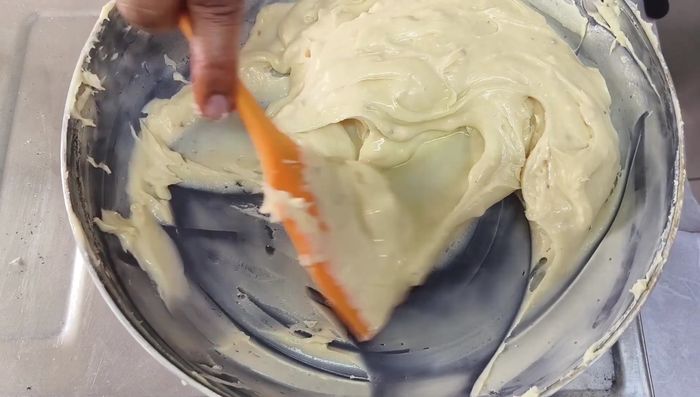
- Add another tablespoon of ghee if needed. Continue to stir until the mixture becomes thick and pulls away from the sides of the pan.
- Turn off the heat. Let the mixture cool slightly until it forms a pliable dough.
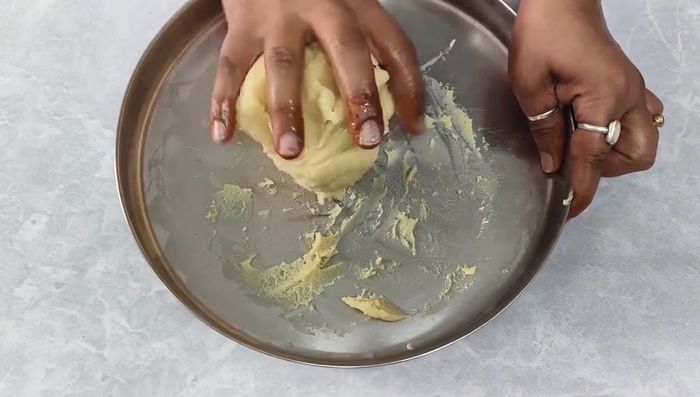
Step 3. Shape the Pedas
- Lightly grease your hands with ghee. Take small portions of the mixture and roll them into small, round pedas. Make a small indentation in the center.
Step 4. Garnish and Serve
- Garnish with chopped pistachios and almonds (optional).
Read more: How to Make Delicious Indian Rice Cakes: A Simple Recipe
Tips
- Using a spoon of consistent size helps to ensure all pedas are similar in size.
- If the mixture sticks, reduce heat or temporarily turn off the stove.
Nutrition
- N/A
FAQs
1. Can I use condensed milk instead of regular milk?
While you can, it will significantly alter the taste and texture, making the peda denser and sweeter. It's best to use fresh milk for the authentic taste and texture.
2. How can I store leftover milk peda?
Store them in an airtight container at room temperature for up to 3-4 days, or in the refrigerator for up to a week. They will harden slightly as they cool.
3. What can I do if my peda becomes too hard?
If your peda hardens excessively, you can try microwaving them for short bursts (10-15 seconds at a time) to soften them. Alternatively, you can store them in an airtight container with a small piece of bread to absorb excess moisture.
With this easy recipe, you've now mastered the art of making delicious homemade milk peda. Impress your family and friends with this delightful Indian sweet, perfect for any celebration or a simple afternoon treat. Enjoy the sweet taste of success!