Crispy papdi, those incredibly thin, crunchy wafers, are a staple in Indian cuisine, adding a delightful textural contrast to countless dishes like chaat and sev puri. Their delicate crunch and subtle flavor make them incredibly versatile, perfect as a snack on their own or as a key ingredient in more complex recipes. Homemade papdi offers a superior taste and texture compared to store-bought versions, allowing you to control the ingredients and achieve that perfect level of crispiness. The satisfying snap of a well-made papdi is truly something special.
Making crispy papdi at home might seem daunting, but with the right recipe and technique, it's surprisingly straightforward. This comprehensive guide will walk you through each step of the process, from preparing the dough to achieving that perfect, long-lasting crisp. Ready to embark on this culinary adventure and learn how to create papdi that will last for up to a month? Let's get started!
Tools Needed
- Bowl
- Rolling pin
- Fork
- Frying pan
Ingredients
- Refined flour: 1 1/2 cups
- Celery: 1/2 tsp
- Salt: 1/2 tsp
- Oil: 2 tbsp
- Water
Step-by-Step Instructions
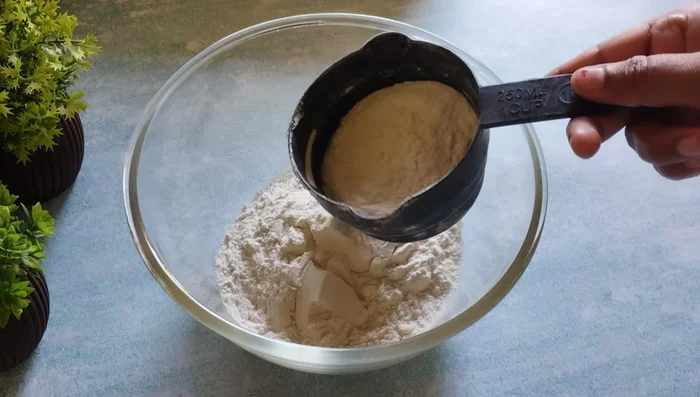
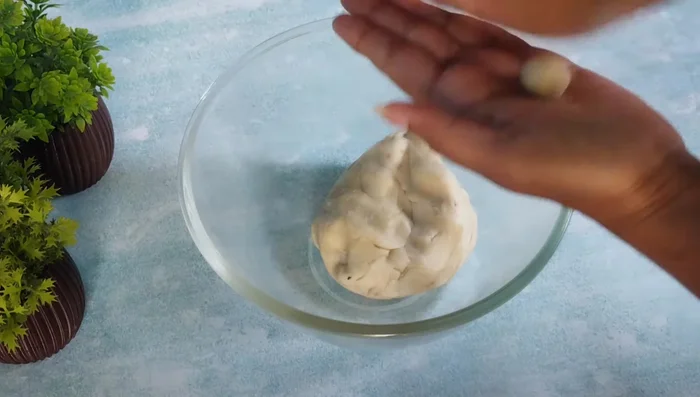
Step 1. Prepare the Dough
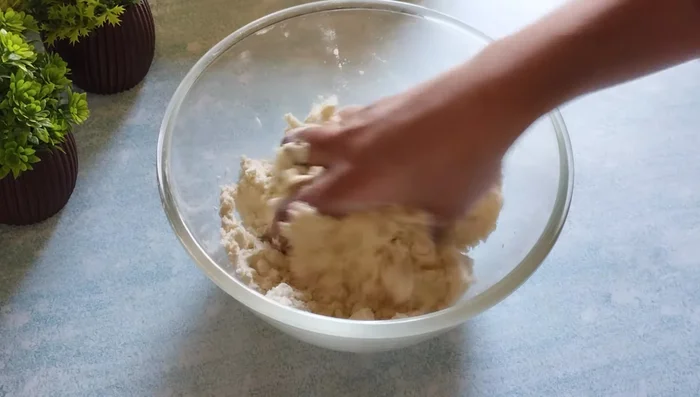
- In a bowl, combine refined flour, celery, salt, and oil. Mix well.
- Gradually add water to make a stiff dough. Do not make it soft.
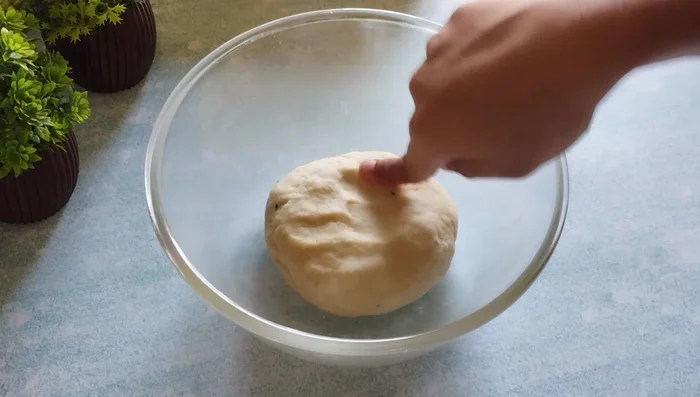
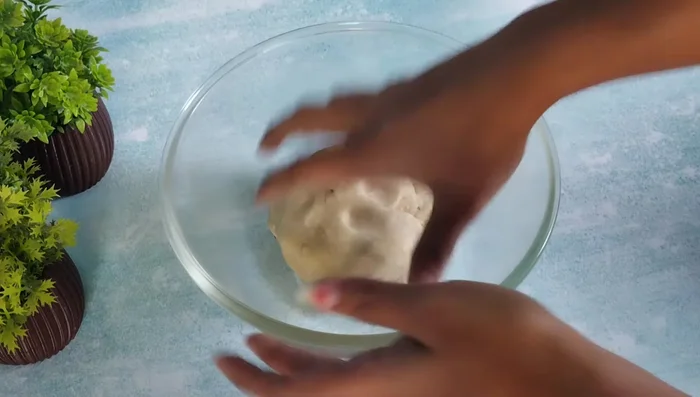
- Cover the dough and let it rest for 10-15 minutes.
- Knead the dough again to make it smooth.
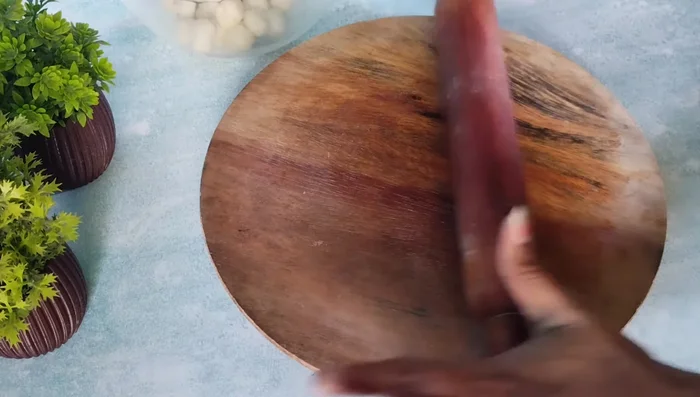
Step 2. Shape and Prepare Papdi for Frying
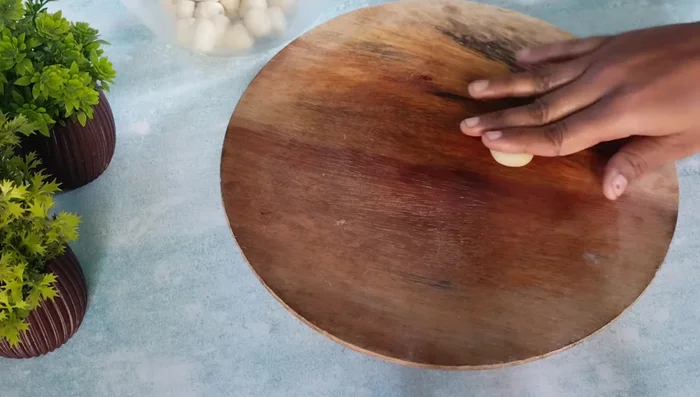
- Roll the dough into small balls, smaller than a lemon.
- Roll each ball into a very thin circle. Make sure it's thin to ensure crispiness.
- Using a fork, poke small holes in each circle to prevent puffing during frying.
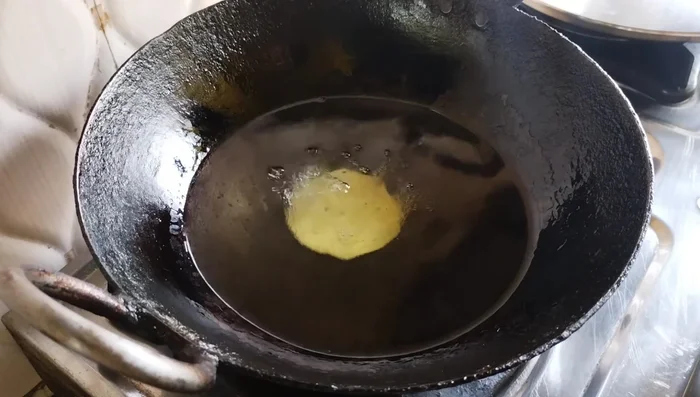
Step 3. Fry the Papdi
- Heat oil in a frying pan. Fry the papdi on medium heat, stirring continuously until golden brown. This takes about 3-4 minutes per batch.
Step 4. Cool and Store
- Remove the papdi from the oil and place them on a wire rack to cool completely before storing.

Read more: Crispy Chilli Chana Recipe: Restaurant-Style Crunchy Chickpeas
Tips
- Use refined flour for best results. You can use wheat flour, but the outcome might be different.
- Don't add too much oil while kneading the dough.
- Make sure the dough is tight; a soft dough will not produce crispy papdi.
- Make the papdi very thin for optimal crispiness.
- Make holes in the papdi before frying to prevent puffing.
- Fry the papdi in hot oil on medium heat for even cooking.
- Let the papdi cool completely before storing them.
Nutrition
- N/A
FAQs
1. How can I ensure my papdi stays crispy for a month?
Proper drying is key! Make sure the papdi are completely dry before storing them in an airtight container in a cool, dry place.
2. What should I do if my papdi becomes soft?
If they soften, you can try re-crisping them in a low oven (around 150°C/300°F) for a few minutes. Don't overheat!
3. Can I use all-purpose flour instead of refined flour?
While refined flour is traditional, you can experiment with all-purpose flour. It might slightly alter the texture, making them slightly less crisp.
Making crispy papdi at home is a rewarding experience, resulting in a delicious and versatile ingredient for your favorite Indian dishes. With this recipe and a little practice, you'll be enjoying perfectly crisp papdi for weeks to come. So, gather your ingredients and start creating your own batch of these delightful treats!