Craving a deliciously crunchy and addictive Indian snack? Look no further than Nimki! These crispy, layered delights are perfect for tea time, parties, or any occasion where you want a flavorful treat. Their delicate, flaky texture and subtly spiced aroma make them irresistible. Unlike many store-bought versions, homemade Nimki allows you to control the ingredients and create a truly authentic taste experience. You'll be surprised at how simple it is to achieve this impressive result. This recipe focuses on achieving perfectly crisp layers, ensuring each bite is a satisfying explosion of flavor.
This recipe simplifies the traditional method, making it accessible even for novice cooks. We'll guide you through each step, from preparing the dough to achieving that signature crispy texture. Ready to embark on this culinary adventure and create your own batch of perfectly crispy layered Nimki? Let's dive into the detailed, step-by-step instructions!
Tools Needed
- Bowl
- Rolling pin
- Knife
- Fork
- Pan
- Spatula
Ingredients
- Refined flour (all-purpose flour): 1 cup
- Celery: 1/2 teaspoon
- Nigella seeds: 1/2 teaspoon
- Salt: to taste
- Oil (refined or ghee): 2 tablespoons
- Water: 1 cup (approx.)
Step-by-Step Instructions
Step 1. Prepare the Dough and Rest
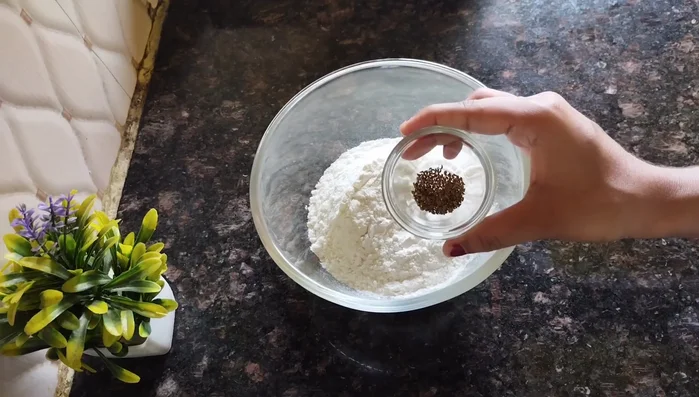
- In a bowl, add refined flour, celery, nigella seeds, salt, and oil. Mix well by rubbing the oil into the flour until it resembles breadcrumbs.
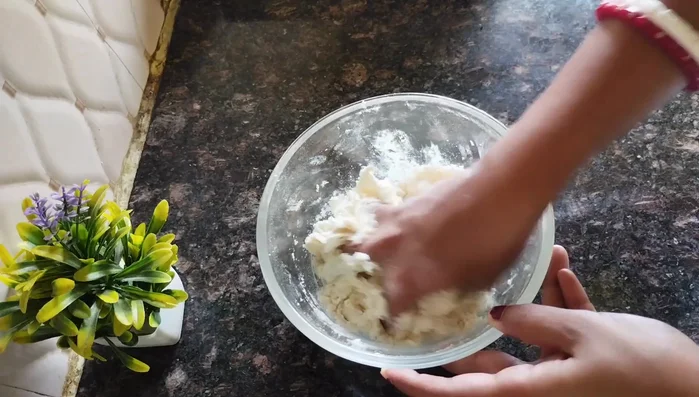
- Gradually add water to the flour mixture, kneading to form a firm, smooth dough. Do not add all the water at once.
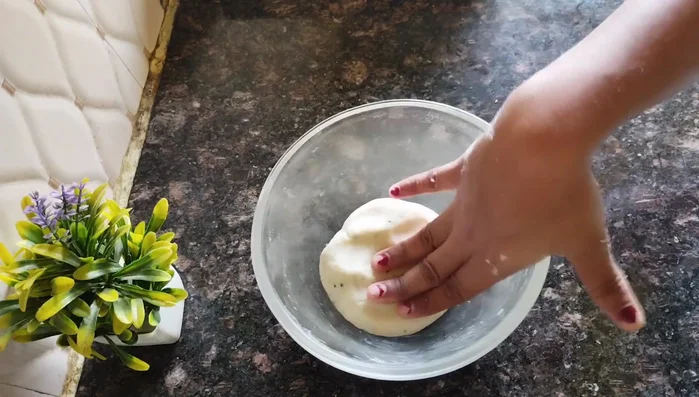
- Cover the dough and let it rest for about an hour.
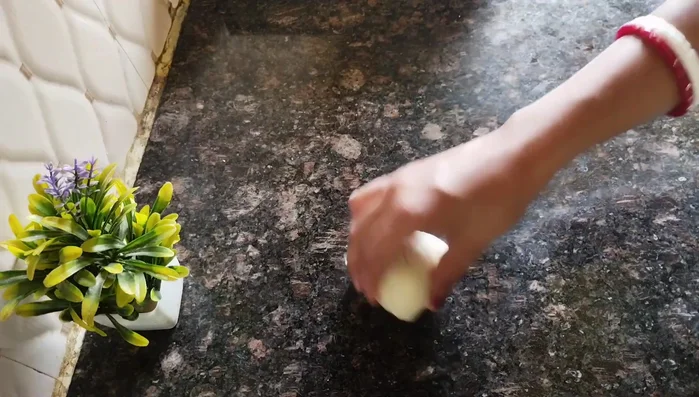
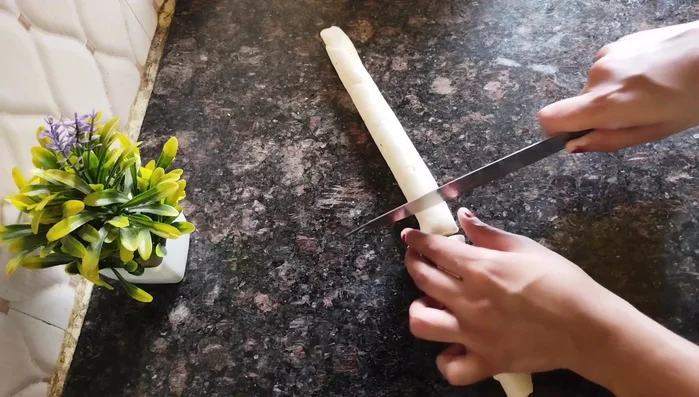
- After resting, knead the dough again to make it smooth. Roll it into a long cylinder shape.

Step 2. Shape and Layer the Nimki
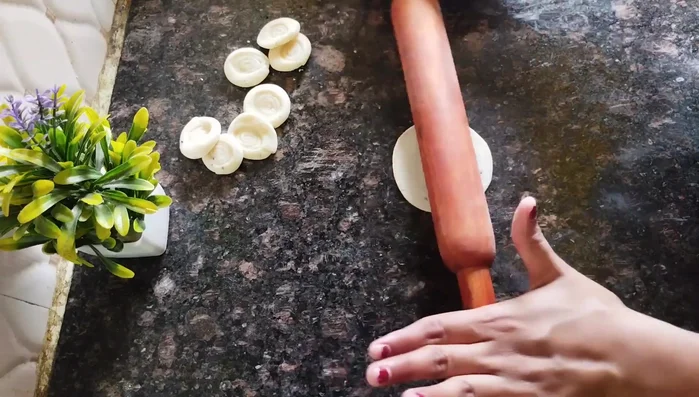
- Cut the cylinder into pieces of desired size, and roll each piece into a thin, slightly thick circle.
- Apply the prepared paste evenly onto each rolled circle.
- Roll the paste-covered circle tightly, ensuring it sticks together. Stretch it to lengthen the piece.
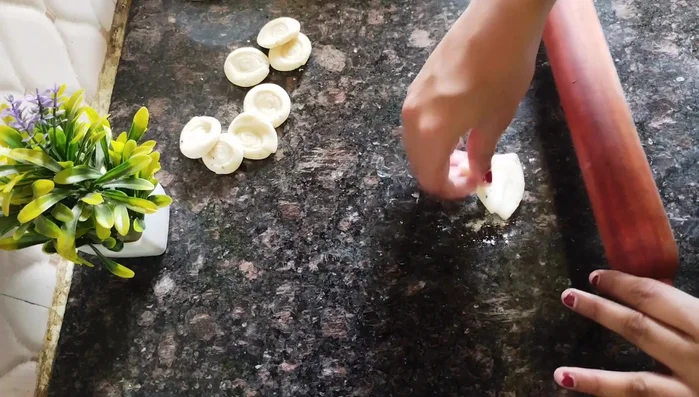
- Cut the long rolled piece into smaller pieces. Gently flatten each piece.


- Roll out each small piece again, to make it a bit thinner and larger (like a puri). Apply the paste to the flattened circle. Fold it in half, then apply more paste and fold again into a triangular shape.
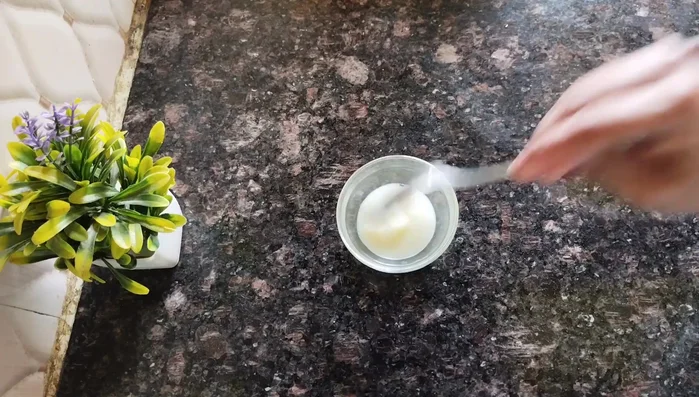
Step 3. Prepare the Paste and Finish Shaping
- In a separate bowl, mix ghee (or oil) and a spoonful of refined flour until creamy.
- Lightly press the triangular shape, and use a fork to poke holes in the nimki to prevent puffing during frying.
Step 4. Fry the Nimki
- Heat oil in a pan. Fry the nimki on low heat until golden brown, turning occasionally. This takes about 4-5 minutes per batch.
Read more: Crispy Chilli Chana Recipe: Restaurant-Style Crunchy Chickpeas
Tips
- For extra crispy nimki, use a firm dough and knead it well.
- Don't fry the nimki on high heat; it will turn soft. Low heat is key for a crispy texture.
Nutrition
- N/A
FAQs
1. Can I use all-purpose flour instead of whole wheat flour?
Yes, you can substitute all-purpose flour for whole wheat flour. The texture might be slightly different – a bit less rustic – but still delicious.
2. My Nimki is not crispy enough. What went wrong?
This is usually due to insufficient frying. Ensure the oil is hot enough and fry the Nimki in batches, without overcrowding the pan. Also, ensure they are completely dry before frying.
With this easy recipe, you've mastered the art of making perfectly crispy layered Nimki. Enjoy these delightful snacks with your family and friends, and watch them disappear in a flash! Now go forth and create your own delicious batch of this addictive Indian treat.